DIY Wood Spice Rack
When you make a purchase through links on our site, we may earn an affiliate commission As an Amazon Associate I earn from qualifying purchases..
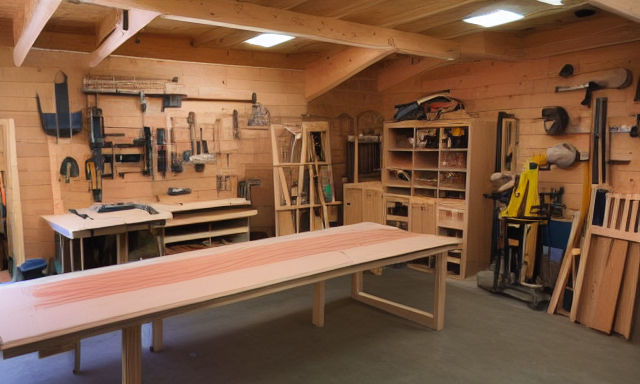
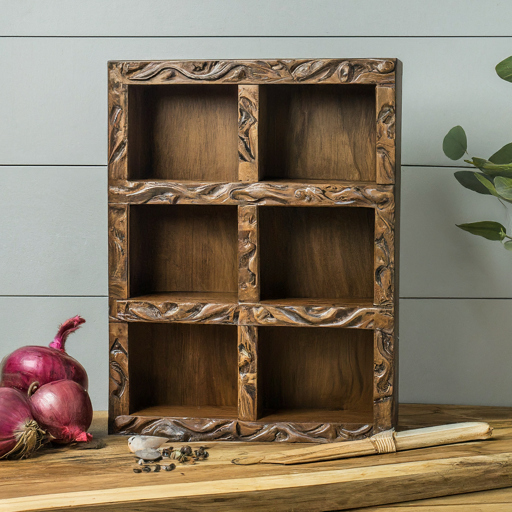
Organize your spices and add a touch of rustic charm to your kitchen with a handcrafted wooden spice rack. This guide provides instructions for a basic design, allowing for customization to fit your specific needs and preferences.

Building a Simple DIY Wood Spice Rack: Step-by-Step Guide
Organize your spices and add a touch of rustic charm to your kitchen with a handcrafted wooden spice rack. This guide provides instructions for a basic design, allowing for customization to fit your specific needs and preferences.
Materials:
- (1) 1″ x 8″ board, 6 feet long (or similar lumber for the back panel)
- (1) 1″ x 4″ board, 6 feet long (or similar lumber for the shelves)
- Wood screws (1 1/4″)
- Wood glue (optional)
- Sandpaper (various grits)
- Finishing materials (paint, stain, polyurethane, etc. – optional)
- Drill
- Miter saw or circular saw with miter box
- Tape measure
- Pencil
Instructions:
1. Planning and Measurement:
- Measure the space where you plan to mount the spice rack.
- Decide on the desired size and number of shelves based on your spice collection and available space.
- Sketch a layout on paper to visualize the design and determine the cutting lengths for the pieces.
2. Cutting the pieces:
- Use the miter saw (or alternative) to cut the following pieces according to your plan:
- Back panel: Cut the 1″ x 8″ board to the desired length for the height of your spice rack.
- Shelves: Cut the 1″ x 4″ board into several pieces of equal length for the shelves, considering the depth you want for each shelf and the spacing between them.
3. Sanding the pieces:
- Sand all surfaces of the pieces using various grits of sandpaper, starting coarse (around 80 grit) and progressing to finer grits (around 220 grit) to achieve a smooth and finished feel.
4. Applying the finish (optional):
- You can customize the look of your spice rack with paint, stain, or a clear sealant before assembling it (optional). Choose a finish that complements your kitchen décor and consider its durability.
5. Assembly:
- Pre-drill pilot holes (optional):
- To prevent the wood from splitting when screwing the pieces together, pre-drill pilot holes through the designated areas on the back panel, ensuring they align with the placement of the shelves.
- Attaching the shelves:
- Option 1 (without glue):
- Position the shelves on the back panel, aligning them with the pre-drilled holes (if applicable).
- Screw the shelves to the back panel from the back.
- Option 2 (with glue):
- Apply wood glue to the edges of the shelves where they will meet the back panel.
- Position the shelves on the back panel, ensuring they are aligned, and clamp them together to secure the bond while the glue dries.
- Once the glue dries, screw the shelves to the back panel for added stability.
- Option 1 (without glue):
6. Finishing touches:
- Once the glue is dry (if applicable) and any paint or stain is completely dry, sand the assembled spice rack lightly with fine-grit sandpaper to remove any imperfections.
- You can add a final coat of clear polyurethane for additional protection and shine (optional).
Tips:
- Double-check your measurements and cuts before proceeding to ensure a proper fit.
- Consider adding decorative elements like carved designs on the back panel or painting the shelves in different colors.
- If you plan to mount the spice rack on the wall, add hanging hardware (screws and picture hanging hooks) to the back panel before attaching the shelves. Ensure the hardware can support the weight of the filled spice rack.
- This is a basic design, and you can customize it further by using different wood types, creating compartments for specific spices, or adding additional features like a small railing at the front of the shelves to prevent jars from falling.
Safety:
- Wear safety glasses and gloves when using power tools.
- Be mindful of sharp edges and take precautions to avoid cuts.
Here is another simple tutorial on how to make a wooden spice rack:
Materials:
4 pieces of wood, approximately 12 inches long and 3 inches wide (for the sides of the rack)
4 pieces of wood, approximately 6 inches long and 3 inches wide (for the shelves)
Wood glue
Finishing nails
Hammer
Sandpaper
Wood finish (optional)
Instructions:
Sand all of the pieces of wood to smooth out any rough edges.
Glue two of the long pieces of wood to two of the short pieces of wood, forming a rectangle. Use the finishing nails to secure the corners. Repeat with the remaining two long pieces of wood and short pieces of wood.
Place the two rectangles parallel to each other and about 6 inches apart. Glue the shelves to the sides of the rectangles, making sure they are evenly spaced. Use the finishing nails to secure the shelves.
Once the glue has dried, sand the entire spice rack to smooth out any rough edges.
If desired, apply a wood finish to protect the wood and give it a polished look. Allow the finish to dry completely before using the spice rack.
Install the spice rack in your desired location and fill it with your favorite spices.
Remember, building your own spice rack is a fun and rewarding project that allows you to add a personal touch to your kitchen and keep your spices organized and easily accessible.
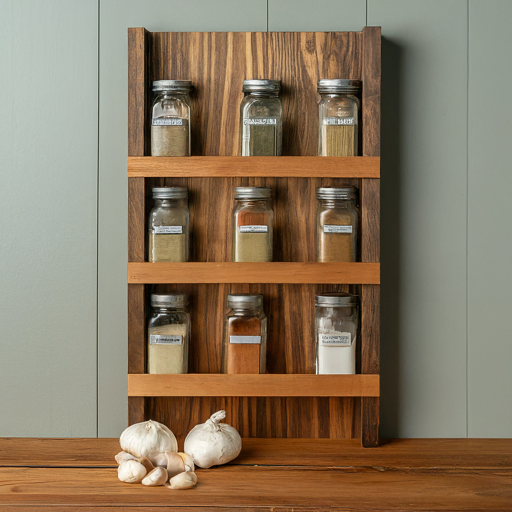
Having a spice rack on your kitchen counter makes it easier to use the spices in your cooking. There are many designs and styles to choose from. If you are an experienced woodworker, you can also make a custom spice rack. However, if you are a beginner, you can easily build a spice rack with basic woodworking skills.
Before starting the project, you should study some of the options. The size of your spice rack depends on the number of spices you wish to store. It is also advisable to avoid building a rack that blocks other storage.
For a neater finish, you can paint your shelves. However, the paint can drip. To prevent this, you can use a paint pad. You can also use wood glue to fill the holes. When the glue is dry, you can apply a coat of stain.
Remember to always follow proper safety precautions when working with wood and power tools.