Step by Step Instructions to Make DIY Woodworking Project Guitar Stand
When you make a purchase through links on our site, we may earn an affiliate commission As an Amazon Associate I earn from qualifying purchases..
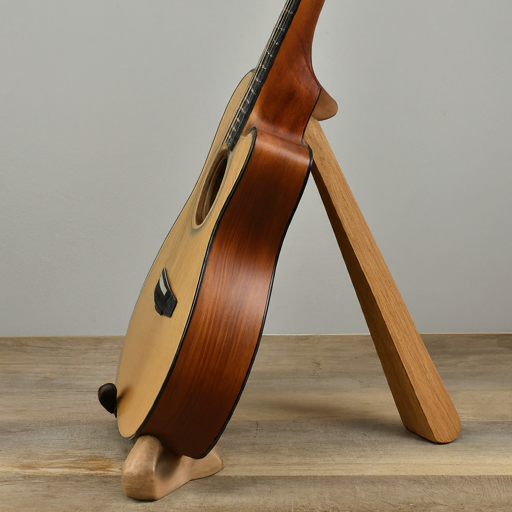
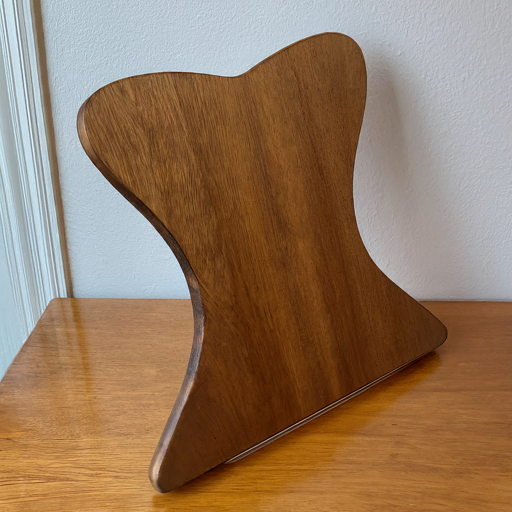
This guide details the process of building a basic and functional guitar stand using readily available materials and tools.
Materials:
- (1) 2″ x 4″ board, 8 feet long (or similar lumber)
- Wood glue
- Pocket hole jig (optional)
- 1 1/4″ screws
- Sandpaper (various grits)
- Finishing materials (paint, stain, etc. – optional)
- Felt strips (optional)
Tools:
- Miter saw
- Drill
- Jigsaw (optional)
- Sander
- Tape measure
- Pencil
Instructions:
- Cutting the pieces:
- Use the miter saw to cut the 2″ x 4″ board into the following pieces:
- (2) pieces at 36 inches long (legs)
- (2) pieces at 18 inches long (base supports)
- (1) piece at 14 inches long (neck support)
- Optional: If you want a more decorative design, use a jigsaw to create curved edges on the top of the legs.
- Use the miter saw to cut the 2″ x 4″ board into the following pieces:
- Drilling pocket holes (optional):
- If using a pocket hole jig, drill pocket holes into the ends of the base supports and neck support. This will create a stronger and more concealed joint.
- Assembling the base:
- Apply wood glue to the ends of the base supports.
- Clamp the base supports together, forming a right angle with the legs, and ensure the legs are flush at the bottom.
- If using pocket holes: Insert screws through the pocket holes and into the legs to secure the joint.
- If not using pocket holes: Drill pilot holes through the base supports and into the legs, then screw them together.
- Attaching the neck support:
- Apply wood glue to the bottom of the neck support.
- Position the neck support about 10 inches from the top of the legs (adjust based on your guitar’s size), ensuring it’s level.
- Secure the neck support with screws or pocket holes (depending on your chosen method).
- Sanding and finishing:
- Sand all surfaces of the stand using various grits (starting coarse and working your way to finer grits) to achieve a smooth finish.
- Apply your desired finish (paint, stain, etc.) if you want to customize the look.
- Adding felt pads (optional):
- Cut small felt strips and adhere them to the bottom of the legs to protect your floor and provide extra stability.
Tips:
- Double-check your measurements and cuts for accuracy before assembly.
- Pre-drill pilot holes to prevent wood from splitting when inserting screws.
- Use clamps to ensure a tight and secure fit during assembly.
- Consider adding a slight angle to the legs for better stability (optional).
- This is a basic design, and you can customize it further by adding decorative elements, changing the dimensions, or using different types of wood.
Safety:
- Wear safety glasses and gloves when using power tools.
- Be mindful of sharp edges and take precautions to avoid cuts.

By following these steps, you can create a functional and stylish guitar stand for your instrument. Remember, this is a basic guide, and you can personalize it to match your preferences and skill level.