DIY Wood Cutting Board
When you make a purchase through links on our site, we may earn an affiliate commission As an Amazon Associate I earn from qualifying purchases..
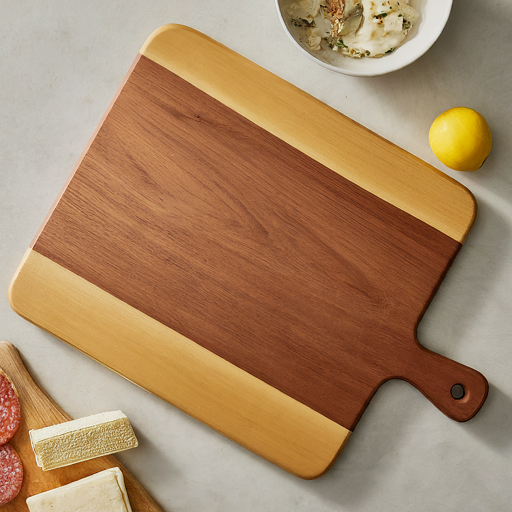
Craft a functional and stylish addition to your kitchen with a handcrafted wooden cutting board. This guide provides instructions for creating a basic edge grain cutting board, allowing for customization to suit your preferences.

Materials:
- Hardwood lumber (maple, walnut, oak, etc.) with a minimum thickness of ¾ inch, sized to your desired cutting board dimensions (consider 12″ x 16″ as a starting point)
- Wood glue (optional)
- Clamps (optional)
- Sandpaper (various grits)
- Finishing materials (food-grade mineral oil, butcher block conditioner, etc.)
- Miter saw or circular saw with miter box (optional)
- Router (optional)
- Tape measure
- Pencil
Instructions:
1. Planning and Measurement:
- Decide on the size and shape: Determine the desired dimensions of your cutting board. Consider a rectangular shape for a classic look or explore rounded corners for a softer appearance.
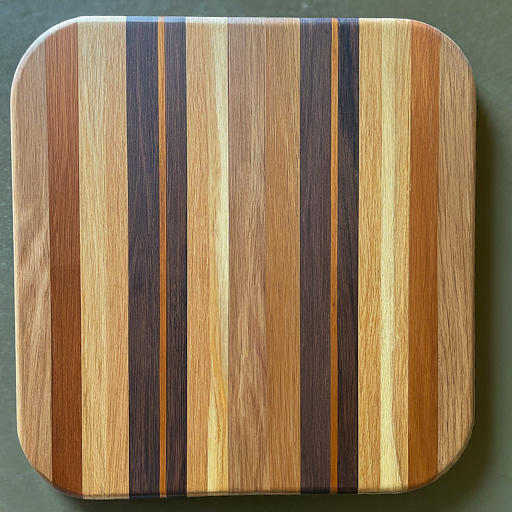
- Draw a cutting diagram: If using multiple wood pieces, sketch a layout on paper to visualize the arrangement and ensure efficient wood utilization.
2. Cutting the pieces:
- Use the miter saw (or alternative) to cut the lumber pieces according to your plan. Ensure straight and clean cuts for a seamless assembly.
3. (Optional) Adding visual interest:
- You can incorporate visual elements like chamfered edges or rounded corners using a router before proceeding to the next step.
4. Joint and plane the surfaces (optional):
- For a professional finish, especially if using uneven wood pieces, consider jointing and planing the surfaces to ensure they are flat and even. This step typically requires specialized tools, so consider using pre-milled lumber if desired.
5. Gluing the pieces (optional):
- This step is recommended for larger cutting boards or those using multiple wood pieces for a more visually appealing and structurally stable board.
- Apply a thin layer of wood glue to the edges of the pieces where they will be joined.
- Carefully position the pieces together, ensuring they are flush and aligned.
- Use clamps (optional) to hold the pieces together firmly while the glue dries according to the manufacturer’s instructions.
6. Sanding:
- Sand all surfaces of the assembled cutting board (or individual pieces) using various grits of sandpaper, starting coarse (around 80 grit) and progressing to finer grits (around 220 grit) to achieve a smooth and finished feel.
7. Finishing:
- Apply a food-grade mineral oil, butcher block conditioner, or a similar food-safe finish to protect the wood and enhance its natural beauty. Follow the manufacturer’s instructions for application and drying times.
8. (Optional) Adding a handle:
- If desired, you can drill a hole in one corner of the board and insert a dowel rod or rope handle for easier carrying. Ensure the handle material and attachment method are food-safe.
Tips:
- Double-check your measurements and cuts before assembly to avoid wasting materials.
- Choose a hardwood known for its durability and resistance to warping, such as maple, walnut, or oak.
- Sand the board thoroughly to ensure a smooth and splinter-free surface for safe food preparation.
- Reapply the chosen finish periodically to maintain the board’s protection and appearance.
Safety:
- Wear safety glasses and gloves when using power tools.
- Be mindful of sharp edges and take precautions to avoid cuts.
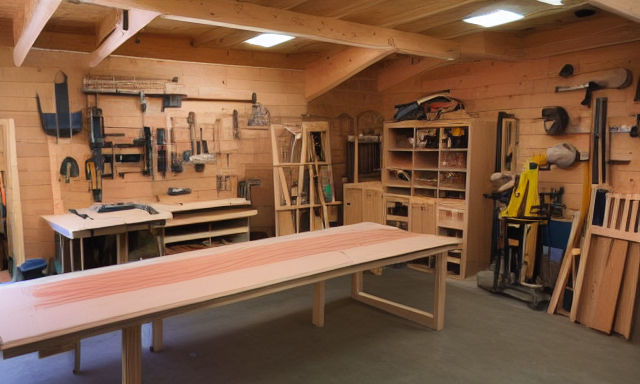
Preparing the wood
If you are looking for a fun project to do at home, then consider making your own cutting board. It’s a great way to use up some of those scrap wood pieces you have lying around the garage. It’s also a nice homemade gift that will serve as a decorative centerpiece for your kitchen counter.
First you need to find a piece of wood that will fit your needs. For example, if you need a cutting board that will hold up to heavy use, a hardwood is a good choice. You can find hardwoods at the lumberyard or cabinet shop. Then you’ll need to buy a piece of wood that’s a little larger than you think you’ll need.
Next, you’ll need to do some sanding. You can use a random-orbit sander to get a smooth finish. You can also do some sanding by hand. You can also use a chamfer bit to make your edges look nice.
Once you have sanded and smoothed the wood, you’ll need to apply some mineral oil. A good coat will help seal the wood and make it more resistant to moisture.
The best way to apply it is to use a small foam roller. This will allow you to do the work quickly.
You’ll want to apply it a couple of times to make sure the wood doesn’t dry out. Then you can seal the board with food-grade mineral oil. You’ll want to let the wood soak in the oil for at least a few hours.
Depending on the type of wood you choose, you’ll need to take special precautions when you’re doing the sanding. For instance, you should wear safety goggles to keep dust out of your eyes. If you’re doing the cutting, you should also wear a pair of gloves.

Sanding the board
Sanding the woodworking project cutting board is an important step that should be done before you begin your project. You should make sure the board is smooth, and that it is free from any cuts or other marks. If the board is not smooth, you may have to sand it more than once.
There are many different methods you can use to sand the cutting board. One method is to use a random orbit sander. This type of sander is used to smooth out the surface of the board. You can also sand the board by hand. However, you will need to make sure the board is clean, and that you are using safety glasses.
You can also treat the cutting board with lemon juice. This will help it repel water, and will make it easier to clean. You can also apply food-safe mineral oil. You can find this at any store. If you do not want to buy food-grade mineral oil, you can use paraffin or beeswax.
After the board has been sanded, it should be rinsed with denatured alcohol. This will remove any dust that has been accumulated. Once the board is dry, it should be wiped with a tack cloth.
If you plan on using wood glue, you can scrape it off of the board before you sand it. Then, you can wipe off the glue with a damp rag. You will need to leave the glue to dry for at least two hours before sanding.
If you have a table saw, you can use a crosscut blade. This will minimize any tearout. It will also help you smooth out the edges of the board.
Applying mineral oil
If you’re looking to maintain a wooden kitchen item, you may want to consider applying mineral oil to your cutting board. The benefits of this treatment include an odorless, clear finish and a protective coating.
Before you apply any finishing treatments, be sure to clean your cutting board. This will remove any accumulated food residue. Once it’s clean, you can apply the finishing product.
In addition, you should also ensure that your board is well dried. This will make it easier for the oil to penetrate and saturate the wood.
To apply the oil, you’ll need a new paint brush or a small bar towel. You should use a light hand while spreading the oil. You can also dip a fine steel wool pad into the warm mineral oil.
You’ll need to leave it for a few hours to allow it to soak in. This will help to create a tight, smooth surface. You should also buff your board to get the full effect.
You’ll want to check the label of the mineral oil you’re using to make sure it’s food-safe. If it’s not, you won’t be able to consume it.
The other option is to use a paraffin wax mix. This is a popular drying oil. You can create a 50/50 mixture of paraffin and mineral oil. This will leave a film on the surface.
You can also try using Walnut oil instead. This is a dark protective coating that will last a long time. However, it will take four to five days for it to dry. You can purchase it at most stores.
Whether you choose to use mineral oil or walnut oil, make sure you follow these steps to ensure your cutting board is protected. This will prevent it from warping and splintering.
Adding rubber bumpers
If you are creating a woodworking project, you can increase safety by adding rubber bumpers to your cutting board. They will keep your board off the counter and reduce the risk of it slipping and damaging the surface. You can purchase the bumpers in many different colors. Whether you are making a cutting board for your kitchen or an interior cabinet door, these bumpers will protect your surfaces from damage and scratching.
If you are creating a cutting board for domestic use, you will probably want to choose a species of wood that is hardy and durable. For example, Maple, Walnut, and Cherry are commonly used in domestic projects. Exotic woods are more porous and are more prone to knife marks. You can also choose to add decorative edges and handles to the surface.
A good place to start your project is to measure and cut the wood. Once you have your pieces measured, you can cut them to size. You can also add a handle or juice groove if desired. You may even consider adding a design feature like a checkerboard pattern.
The next step is to sand down the boards. You can use sandpaper to smooth out the surface and remove remaining glue. Once the boards are sanded, you can apply a coat of mineral oil. If you prefer, you can use a planer to help smooth out the board.
It is always a good idea to add some rubber bumpers to the bottom of the cutting board. This is an inexpensive way to keep the cutting board from sliding. They are also a good way to keep the bottom of the board dry.
Remember to always follow proper safety precautions when working with wood and power tools.